![nomono-logo-default-on-light (1) (1)-2.svg]](https://support.nomono.co/hubfs/nomono-logo-default-on-light%20(1)%20(1)-2.svg)
Step 1: Create an episode to edit your recording in
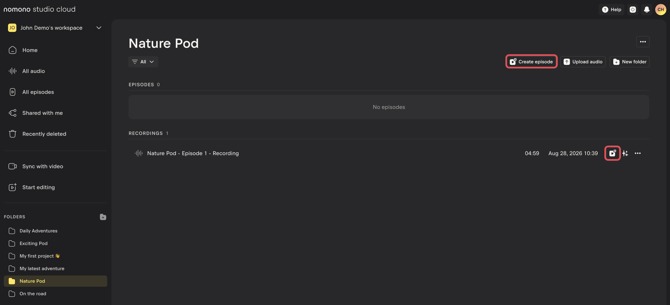
In order to get access to individual Stellar Mic files, you need to open your recording in the Episode view. Consider creating a folder and placing your recording within the folder, and then open a new Episode with your recording using one of the buttons highlighted.
Step 2 (optional): Enhance your recording
Nomono recommend that you enhance your recording prior to starting working. This will make it easier to see the waveforms, and to distinguish dialogue from noise.
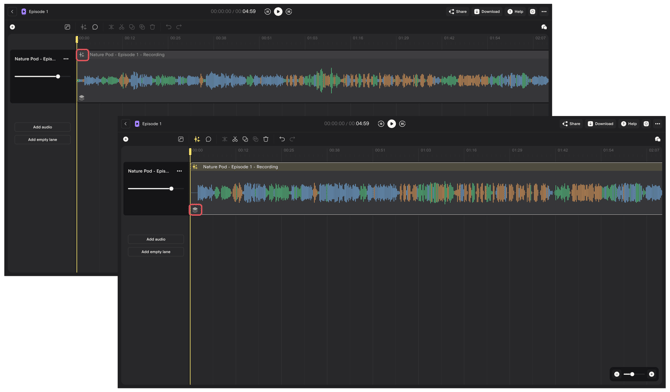
Click the enhancement symbol at the top of your recording to enhance the sound, and click the multitrack symbol at the bottom to open the multitrack drawer.
Tip: You can also access the multitrack view by double-clicking on the recording clip.
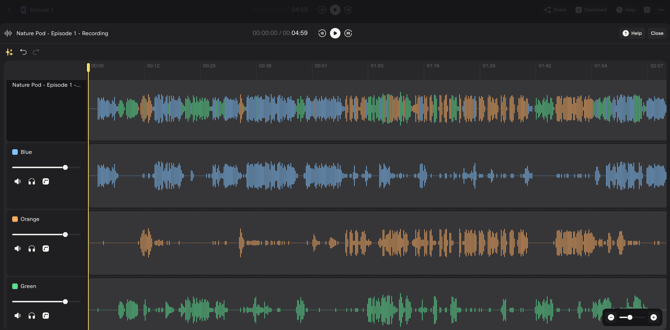
You can observe waveform difference easily by toggling between the enhanced and original file, as shown below:
Original:
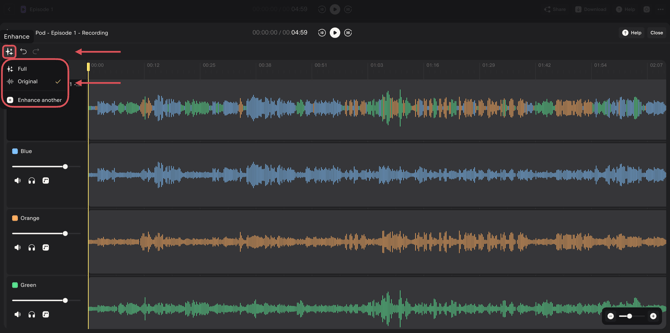
Enhanced:
Step 3: Learn about the tools you can use
Mute
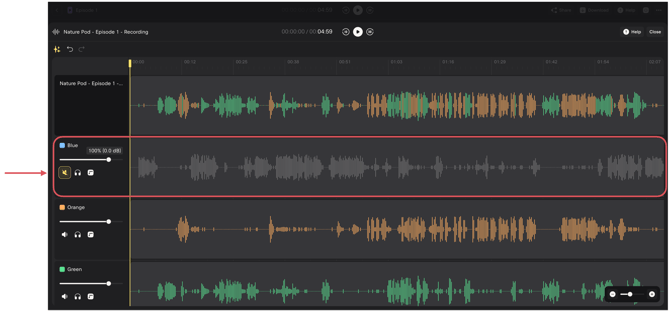
Mute a track to silence it during playback. Other tracks will continue to play.
Solo
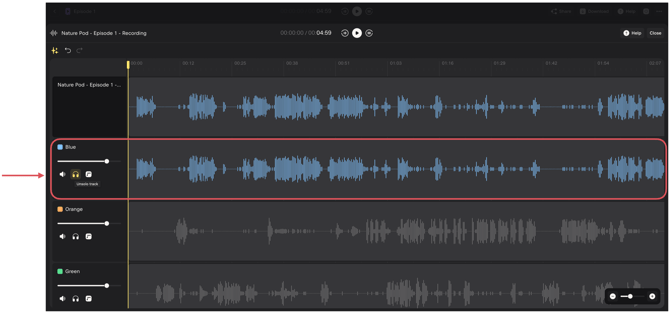
Listen to one or more tracks on their own. You can solo multiple tracks at the same time.
Volume adjustment
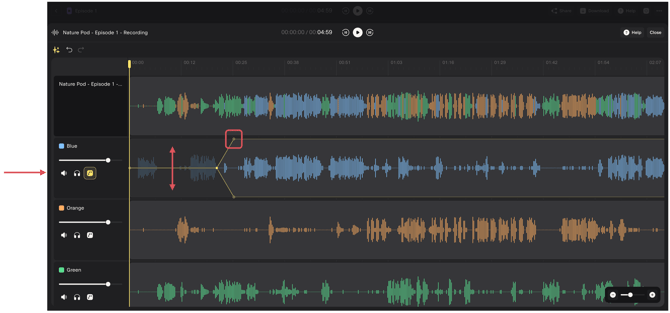
Adjust the volume of a track. Click the volume line to add points and drag them to create volume changes over time.
Volume level
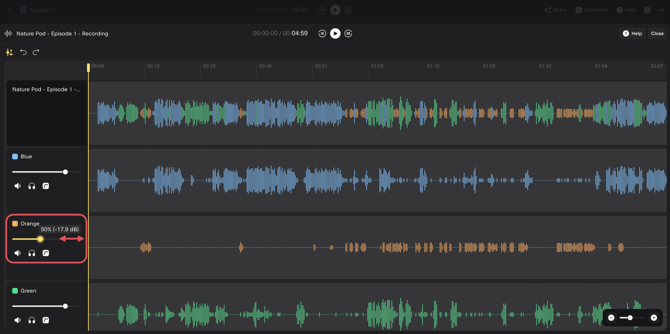
Adjust the volume of a track. Click the volume slider and drag it to your desired overall volume.
Step 4: Listen to the result
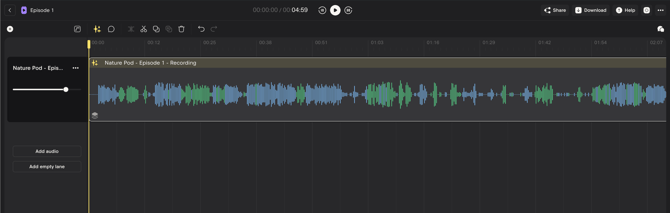
Close the multitrack view and observe the changes back in the editor. Note that any volume adjustments or engaged mute or solo statuses will carry through. In the photo above the orange microphone has been muted, and there are no orange sound waves visible as a result.
If you change your mind you can go back to the multitrack editor and revert the changes.