Note: In order to access the transcription feature in Nomono Studio Cloud, the workspace must be on a paid tier. Our plans Basic, Professional and Premium all come with early access to transcription included. The Free Plan on the other hand will not be eligible for transcription at this time.
Step-By-Step Guide:
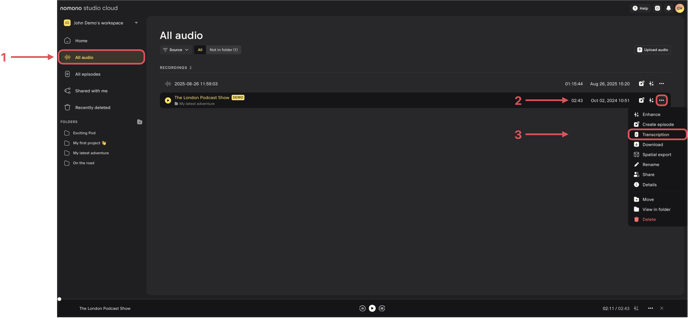
- Locate the audio you want to transcribe. You can locate your audio on the Home page, or in All Audio or in user created folders. In the example below we navigate to All Audio.
- Select the recording you wish to transcribe and press the ••• button to show the options menu.
- Select Transcription from the drop-down menu
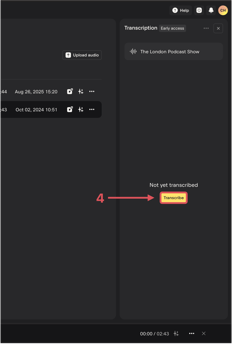
- A transcription tab now opens from the right of the screen. Press Transcribe to start the transcription process.
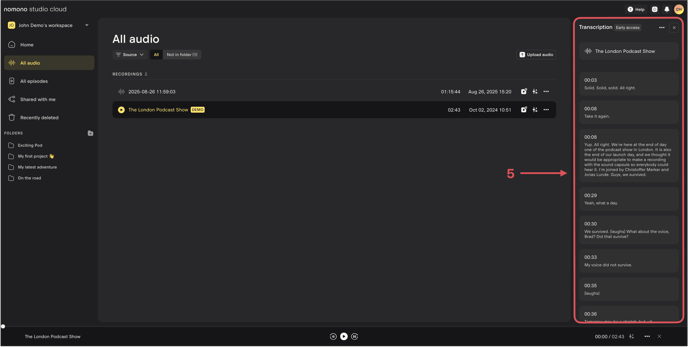
- After a few seconds the recording will be transcribed. You can scroll up and down to navigate.
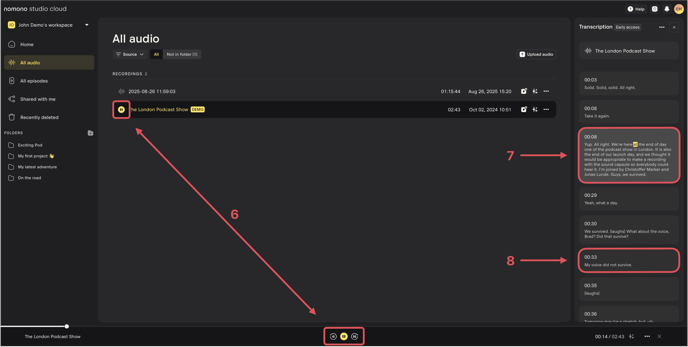
- Play back the recording using the transport button located at the bottom of the screen or on the recording header.
- Observe the yellow highlight moving together with the dialogue as the audio plays back.
- Select a different segment to skip forward or backwards to specific points in the dialogue.
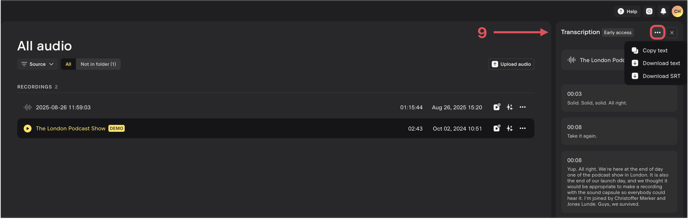
- Download or copy the transcription by pressing the ••• button at the top of the transcription window.
Stay tuned for more updates on transcriptions in Studio Cloud! This is only the beginning of Nomono's venture into transcription based editing 😉